Exploring Joshua Tree National Park with Your Dog

Heading to Joshua Tree National Park with your dog? Like most National Parks, there are restrictions to a pet’s visit, but with a little compromise, there is plenty to enjoy!

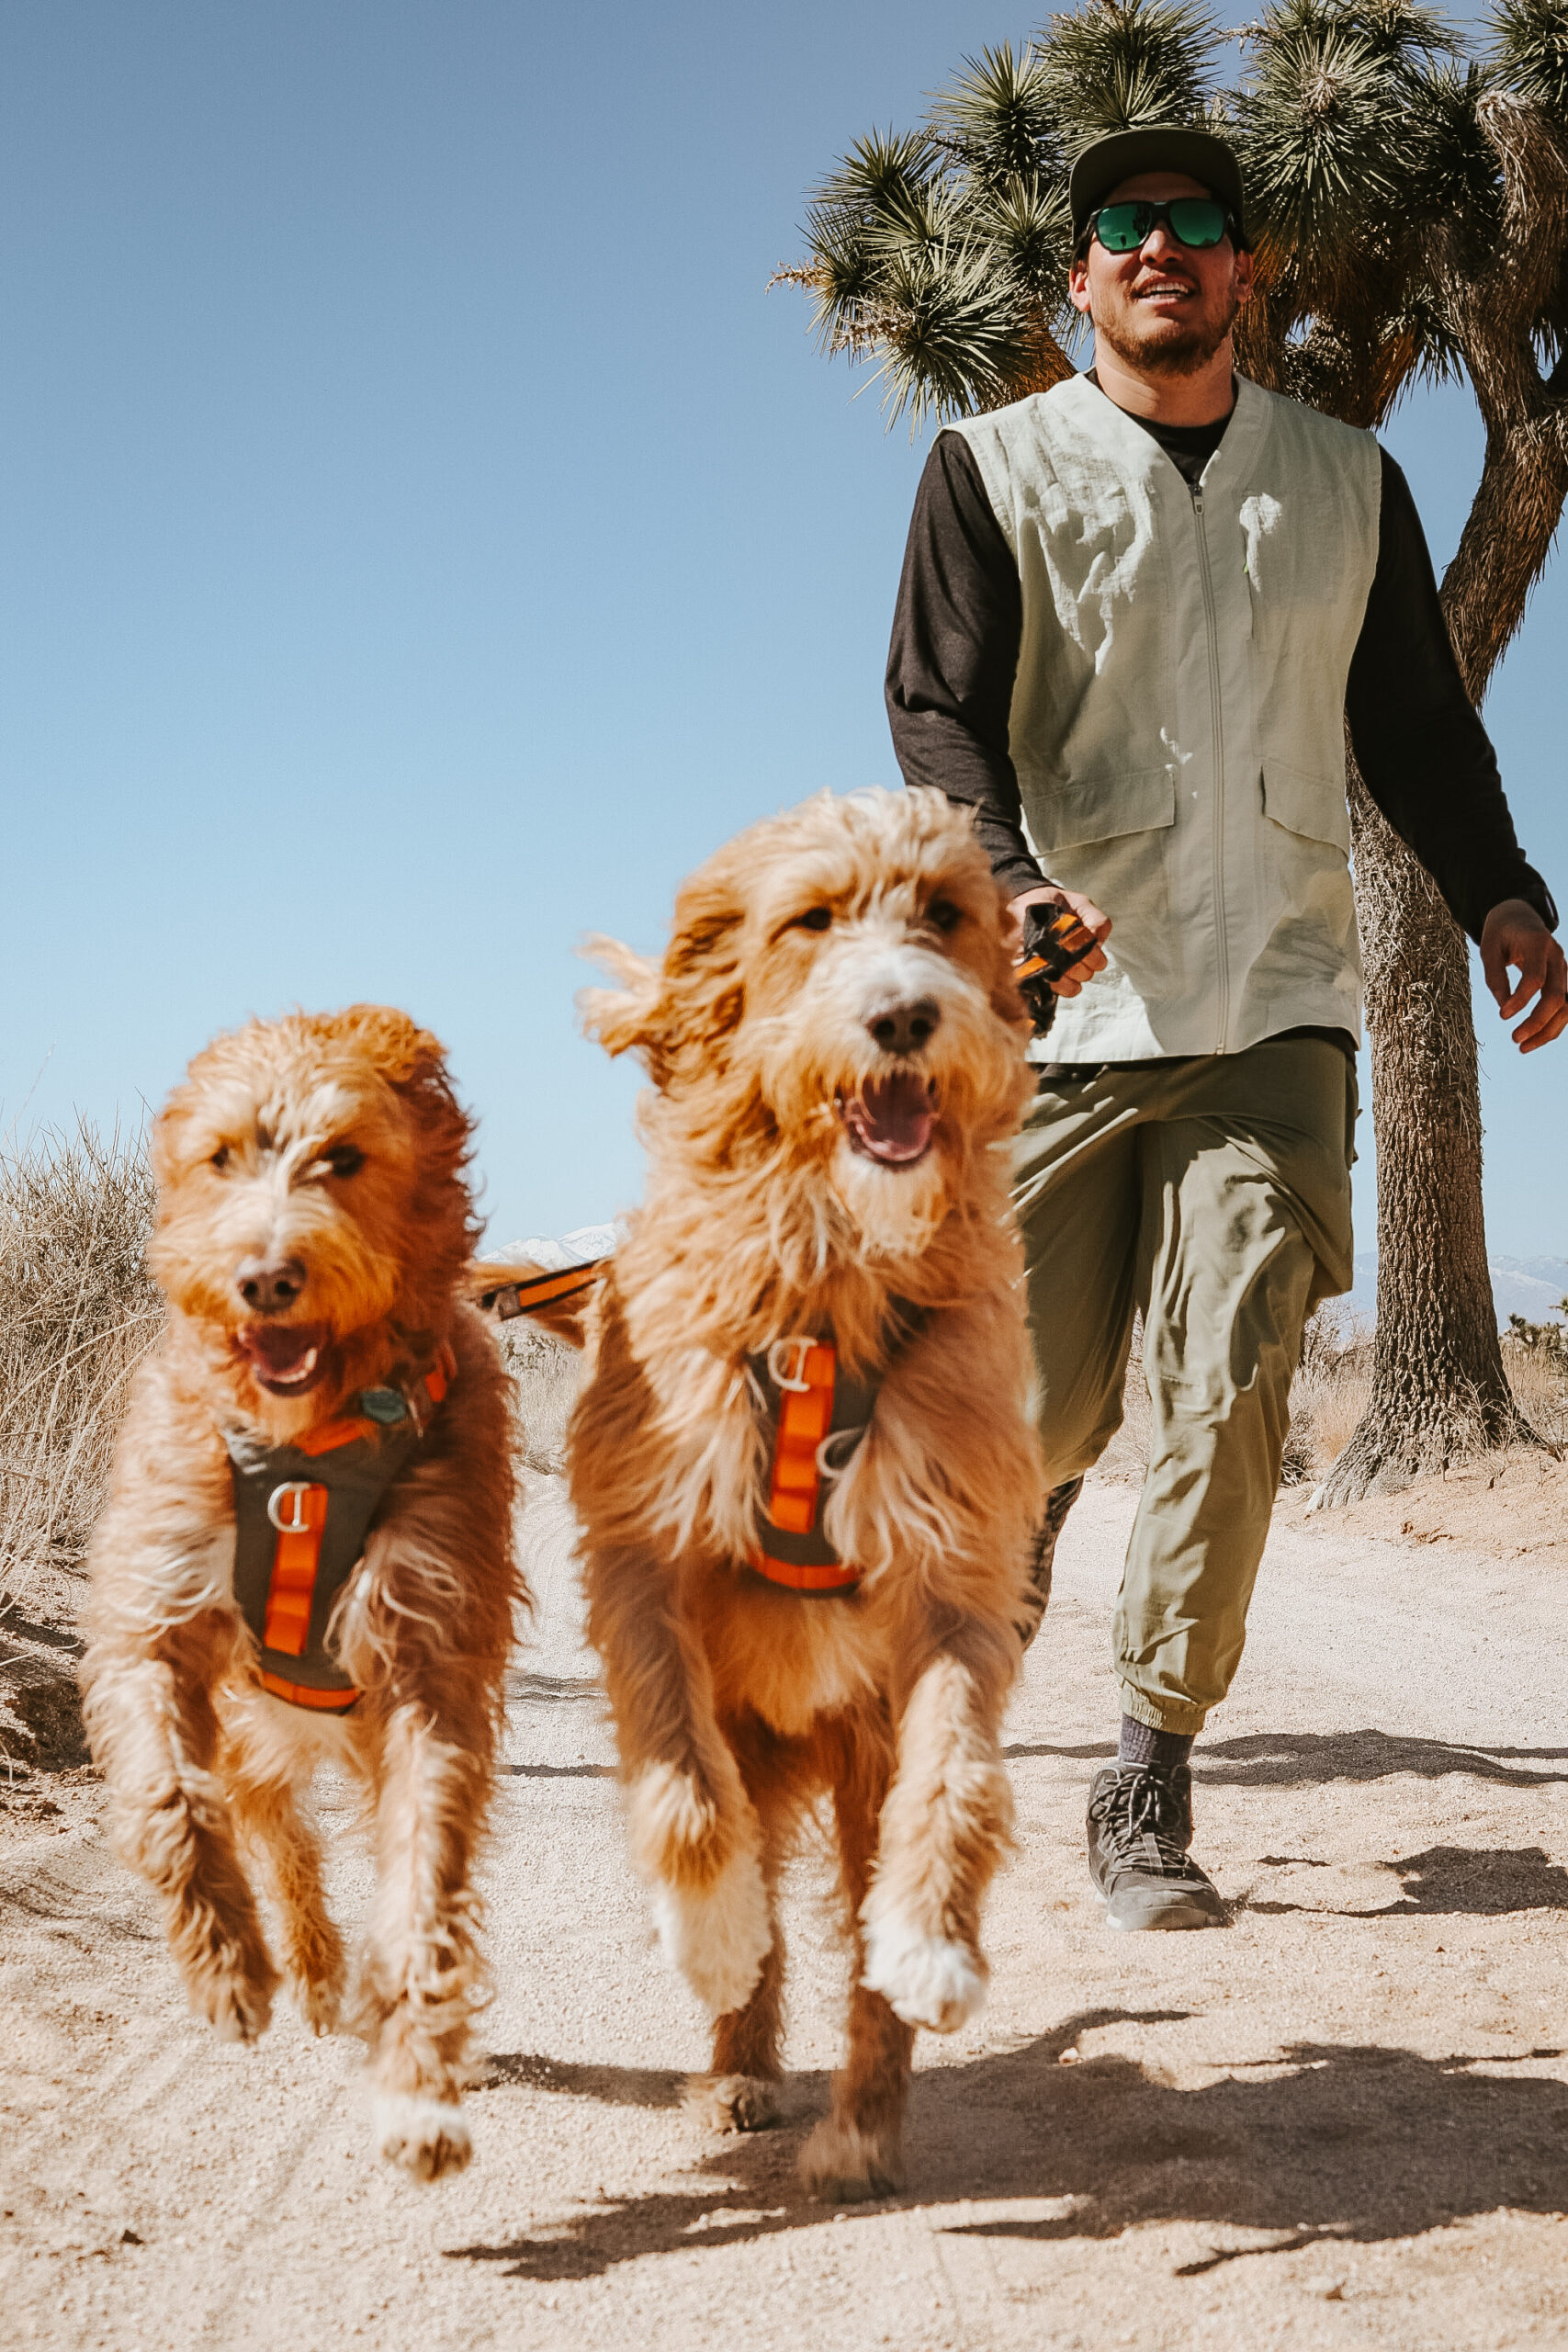
A man runs on a trail in Joshua Tree National Park with his two dogs.

Nestled in the heart of California, Joshua Tree National Park is a desert wonderland for adventurers. Whether you’re a hiker, climber or simply love the outdoors and stargazing, you’ll love the unique landscape and iconic Joshua Trees. For those who also prefer to travel with their dogs like we do, your trip might be more limited but there is still plenty to enjoy.

Safety First! While Joshua Tree offers a great environment for adventure, it’s essential to prioritize safety for both you and your dog. The desert can be harsh and the combination of desert air and elevation can quickly lead to dehydration, so be sure to carry enough water for both of you, protect your dog’s paws from hot surfaces, and be most mindful of the temperature. It’s best to keep your dog at home in the summer months.

You should also review the park’s rules on pets in the park. Generally speaking, leashed pets are allowed as long as they remain within 100 feet of roads, picnic areas, and campgrounds. You can check park maps for the most up to date acceptable locations.

So where can you go with your dogs in the park?

We have found that the best way to enjoy the park with your canine companion is by entering through the West Entrance Station. This entrance is closest to the trails and campgrounds we enjoy.

Luckily, according to the park’s rules, you are allowed to walk your dog anywhere you can drive your car, so we enjoyed walking the pups on a handful of dirt roads that the park has. This offered several paths to stretch our legs and enjoy the views. Some of our favorites include the roads around Hidden Valley Campground and the Geology Tour area. You can find many of these roads designated on the park map. We also suggest asking a ranger which roads offer the best scenery and are most appropriate for your skill level.

Most of the roads start near a parking lot and have pull-outs along the way where you can begin your walk. Just be sure you are not blocking traffic and that your dog is leashed the entire time. And also remember to pick up after your dog. Some roads have more traffic than others, so be sure to stay alert and move out of the way of any vehicles that need to pass.

A man stands next to his dog. They are overlooking the valley from Keys View in Joshua Tree National Park.

One of our favorite pet-friendly paved trails is Keys View Trail. This is an easy and family-friendly trail (just about a quarter mile long in total) that offers a nice little loop to a spectacular overlook of the valleys below. There you’ll also be able to see the shining surface of the Salton Sea, San Jacinto Peak, and the usually snow-covered peak of San Gorgonio Mountain. Some have noted that on really clear days, you might be able to see Signal Mountain in Mexico, but that has become somewhat rare due to the poor air quality over the years. Our favorite time to visit Keys View is at sunset. However, traffic picks up quickly at that time so you’ll want to head over a little earlier to grab a parking spot.

Joshua Tree is one of the national parks that is pretty easy to explore without having to hike for miles. You’ll be able to stop at pullouts or take side roads to see the rock formations and Joshua Trees that make this park so special.

If rock climbing is your thing, or maybe you just enjoy watching the climbers while having your favorite snack, you’ll be happy to know there are four rock climbing areas within 100 feet of a road, picnic area, or campground and therefore pet-friendly. Check out the climbing areas at Belle Campground: Castle Rock, Hidden Valley Campground, Indian Cove Area (there are a few climbing areas here), and the Quail Springs Area.

And if you enjoy camping, there are plenty of campgrounds in and around the park to choose from.

So whatever reason brings you to the park, with a little compromise, there are ways to enjoy Joshua Tree with your dog.

Happy Adventures!

The Best Dog-Friendly Hikes For A Weekend In Sedona

Planning a visit to Sedona but short on time? This post is for you.

Sedona, Arizona is a beautiful destination that offers a little something for everyone. Whether you are looking to explore the great outdoors or simply relax and unwind, this city has it all.

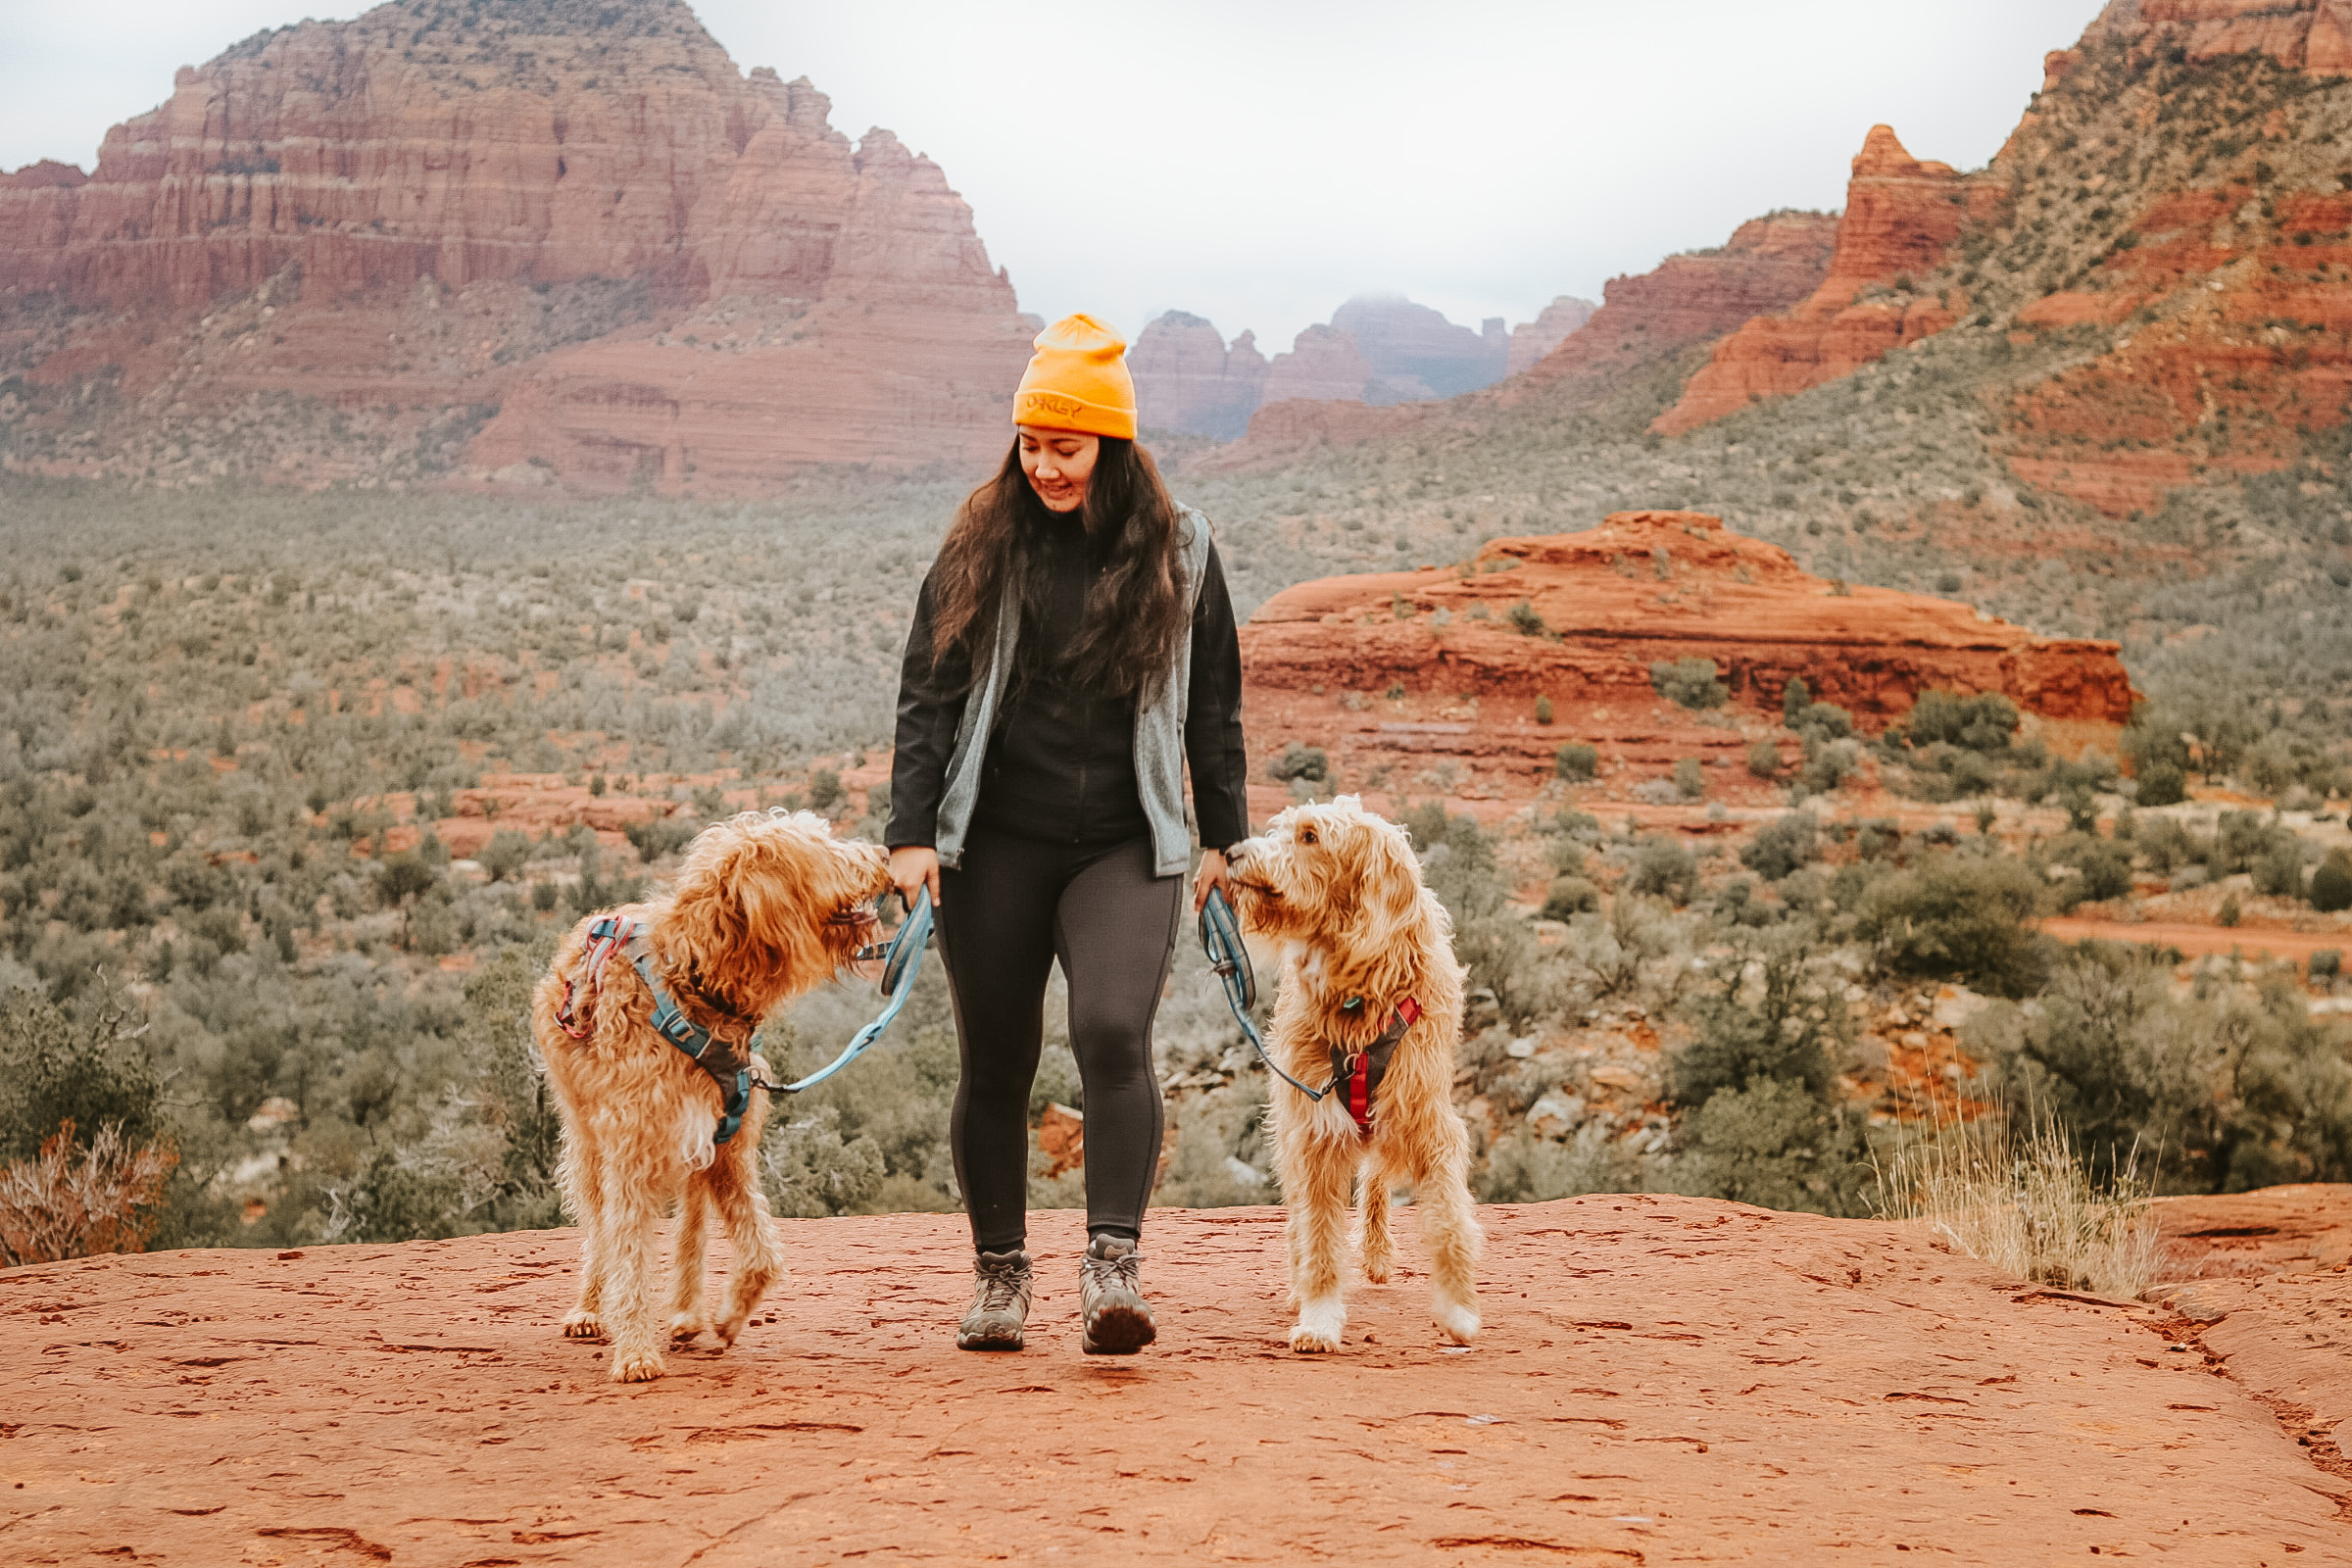
While there are many, our favorite draw of Sedona is its natural beauty (AND that its incredibly dog-friendly). The city is surrounded by red rock formations that provide a stunning backdrop for hiking, biking, and other outdoor activities. There are a number of trails to choose from, which make it the perfect place for any level hiker. We’ll share some of our favorite dog-friendly trails that are perfect for maximizing a short weekend trip.

With so many to choose from, it is really hard to pick just a few trails. Inevitably, you’ll be itching to come back for more. Here is a list of our favorite short hikes (less than four miles total) in Sedona. If you plan your route right you can easily complete multiple hikes per day. For example, we planned a loop of hikes that included Bell Rock, Raven Caves, and Fay Canyon.

Fay Canyon Trail – 2.3 mi
Bell Rock – 1 mi
Seven Sacred Pools – 1.2 mi (note: there a number of trails that lead here)
Sedona Airport Loop – 3.2 mi
Teacup Trail to Coffeepot Rock – 2.7 mi
Oak Creek Trail – 1.3 mi
Devils Kitchen – 1 mi
Raven Caves – 1 mi
Sugarloaf Loop Trail – 2 mi
Doe Mountain Trail – 1.5 mi
Keyhole Cave via Sugarloaf Trail – 2.4 mi
Devil’s Bridge Trail – 3.9 mi
Submarine Rock and Devil’s Dining Room Trail – 2.8 mi

All of these trails can be found on AllTrails.

Looking for places to enjoy a meal between activities? Stop by the main village in Sedona and grab a bite at the Vault UpTown. The patio is dog-friendly and it’s the perfect spot for lunch with a view, just take a look at the views we had from our table!

Are you a pizza person? Check out Sedona Pizza and Pasta Company. Enjoy lunch with your friends and your dogs on their dog-friendly patio (and they have a DOG MENU!!).

Sedona is truly a perfect destination for anyone looking to explore, relax, and rejuvenate. There’s something for everyone to enjoy! So grab your bags and hit the road —

See you on the trails!

3 Dog-Friendly Outdoor Activities Under 1 Hour from the Vegas Strip

Did you know that there are a handful of hotels and casinos along the Las Vegas (NV) strip that are pet friendly? This means it’s easy to plan a weekend full of fun AND adventure with your dog. Below are three dog-friendly outdoor activities within one hour of the strip.

Jon stands on Red Rocks with Chase and Rado.

Red Rock Canyon National Conservation Area

Just a 40 minute drive from the heart of the strip, Red Rock Canyon is known for sandstone peaks and panoramic viewing spots along the 13-mile scenic drive. There are plenty of photo-ops, and a handful of dog-friendly trails throughout the park.

There is a fee to visit the park, and a reservation is required between October and May. Reservations can be made online with a $2 service fee. National Park Passes are accepted online and need to be shown the gate.

Temperatures in Red Rock reaches the 100s F in the summer months. It’s best to visit November – April.

Mt. Charleston

Looking for fall foliage, snow, or to just get away from the heat? There’s a mountain for that just 45 minutes from the heart of the strip, and is easy to enjoy at any time of year. Enjoy mountain trails and views as you explore Mt. Charleston and the quaint town within.

Julianna kneels down with her dogs, Chase and Rado. They're on a trail with views of Mt. Charleston covered in snow in the background.
Chase, a tan and white labradoodle, stands in frame of the Greetings from Valley of Fire State Park sign. Behind him are red rocks and hills.

Valley of Fire State Park

Known as a geological wonderland, the Valley of Fire State Park is 2000 year old petroglyphs carved into red sandstone formations, is home to natural arches, and is over approximately 46,000 acres. Just a 45 minute drive from the strip, there are a number of dog-friendly trails to explore while you enjoy the rich history that lives within the park.

Be sure to plan your trip accordingly, though. Valley of Fire State Park reaches the 100s F in the summer. If you can avoid the summer heat, it’s best to visit in the cooler months of the year.

Want more dog-friendly travel tips? Like, comment, and follow @thisdoodchase on social channels for more day-to-day tips and itineraries. See you on the trails!

Trail Log: Hiking Mount Baden-Powell with your Dog

Mount Baden-Powell is a dog-friendly trail that is considered a hard, 8 mile out-and-back hike with 2,775 feet of climbing.

Mountain views from the hike up to Mount Baden-Powell.

Mount Baden-Powell Trail, originally called North Baldy, packs a lot in a relatively short distance. Named after Lord Baden-Powell – founder of the boy scouts – the challenge of approximately 40 switchbacks over 8 miles out-and-back and 2,775 feet of climbing is a popular one. It’s also a segment of Pacific Crest Trail and one of the trails offered in the SoCal Six Pack of Peaks Challenge.

Here’s the general route we took following AllTrails‘ Mount Baden-Powell Trail.

Ready to go?

Be prepared with the essentails

  • Wear sunscreen, sunglasses and a hat. While a decent amount of the trail is shaded, there are sections including the saddle and peak that are in the exposed alpine zone.
  • Carry plenty of water. We recommend at least 2.5L per person, and more if you’re taking a longer route and/or your dog.
  • Bring snacks to keep you and any company fueled.
  • Don’t forget your first aid kit.
  • You’ll need to pack additional hiking and safety gear if hiking in the winter. Please do not attempt this hike in the winter if you are new to hiking or don’t have experience hiking in the snow/ice.

Not sure what to pack? Check out our full list of hiking with your dog essentials and shop our favorites.

Getting to the trailhead

The coordinates for the parking lot are 34.373309453020276, -117.75200149924005 (though we successfully used the directions provided by AllTrails). The drive up is scenic as you wind your way through the mountains.

The parking lot is large, as it acts as a hub to a number of trails including the PCT. But it does fill up fast so I recommend getting to the trailhead early.

The parking lot also has a well-maintained bathroom. As someone who is very particular about public restrooms and would rather pee outside than in a stinky outhouse, this one passed the cleanliness test.

A parking pass is required for this lot. We used our National Park Pass, which gets us into any National Park, monument and National Forest. You can purchase a day pass for $5 at the rangers office.

In the winter some of the roads may be closed, and the trail is covered in snow and ice. I would not recommend hiking this trail in the winter if you are not a seasoned hiker with mountaineering experience.

Hiking Mount Baden-Powell

From the parking lot you’ll see two trailheads. To the left the trail leads to an abandoned mine. Instead, begin climbing the more narrow trail to the right. You’ll walk along the fence and see the PCT sign as you pass the back side of the bathrooms.

You’ll face a gradual but constant climb through 40+ switchbacks. The trail is well marked and the switch backs are pretty obvious. If you feel yourself challenged by the climb or altitude, there are plenty of shaded rocks to take a break at and around .9 miles in there is a nice bench to sit on.

About a mile past the bench you’ll see a sign for Lamel Springs. Continue to the right.

Jon and the dogs stand at an overlook taking a break from climbing.

Just after the 3M marker (mile 3) there is an overlook with a log. You can sit here and take a break before the last few switchbacks to the saddle. You’ll start to see the trees thinning as you get higher.

Jon, Chase and Rado hike along the saddle to Mount Baden-Powell.

At around 3.6 miles you should be at the saddle. There are great views here so take your time and enjoy looking around. Along the saddle you’ll run into the Wally Waldron Tree, which is said to be the oldest living thing in the San Gabriel Mountains at around 1,500 years old. Chase and Rado appreciated the shade Wally Waldron provided.

Chase and rado enjoy the shade under the 1,500 year old tree.

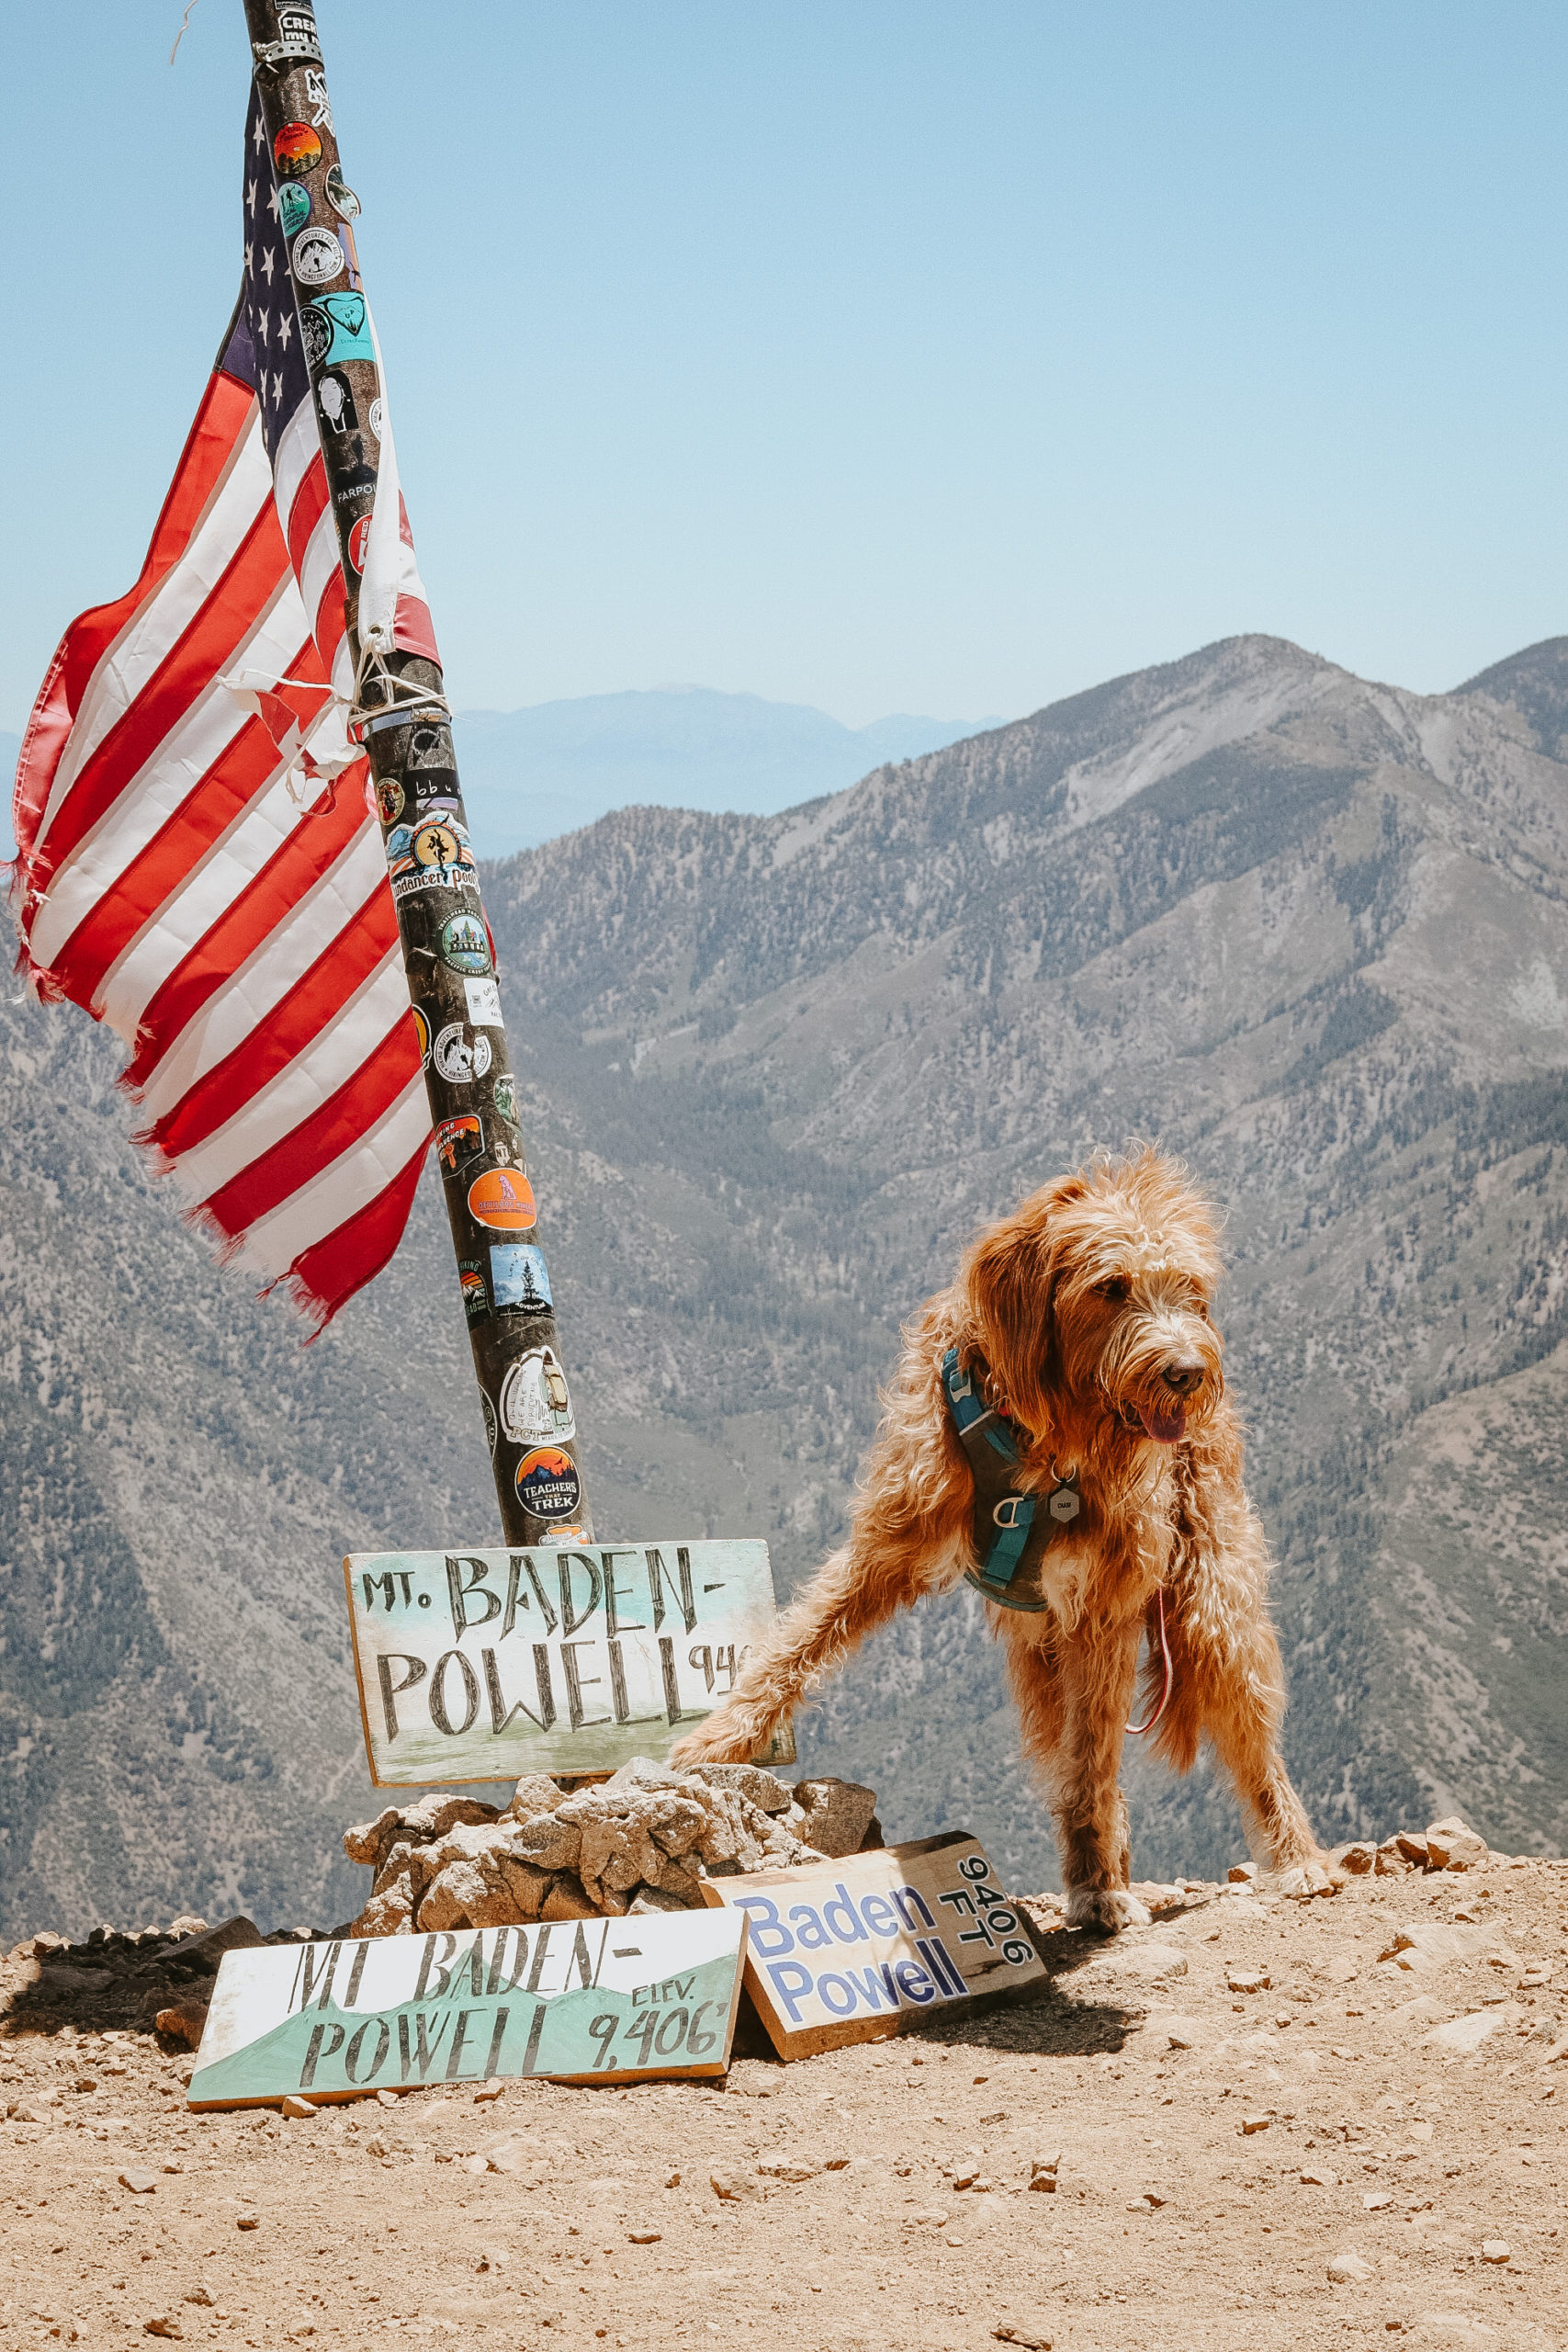
At this point you’re almost at the peak. Continue on up the last climb and you’ll soon see the Monument and summit register. Just behind that is usually an American Flag and summit signs. You’ve made it!

Take your summit selfies, eat some snacks, and then head back down the way you came.

Happy Hiking!

Trail Log: Santiago Peak via Maple Springs

Santiago Peak via Maple Springs is a moderate, dog-friendly, 7.5-9.5 mile out-and-back trail with approximately 1,650 feet of climbing.

Chase and Rado hike with Jon and Cody along the OHV road.

Santiago Peak is the highest point in Orange County and Santa Ana mountains at 5,689 feet. Typically hikers will approach this peak via the scenic Holy Jim Trail, but due to recent fires and trail closures (as I write this in May 2022), many are taking alternate routes like Maple Springs and Joplin.

Here is the general route we took as posted on AllTrails.

Some might choose to turn this hike into a 2-peak challenge, bagging Santiago and Madjeska Peak as they make their way along Saddleback Mountain. We followed a portion of the trail towards Madjeska to avoid portions of the OHV trail on the way up to Santiago Peak, but did not end up taking the turn up to Madjeska this time.

The views, the trail being dog-friendly, and the challenge (also included in the SoCal Six Pack of Peaks Challenge) make this hike popular. Make sure to go early to beat the crowd, especially the vehicle traffic.

Ready to go?

Be prepared with the essentails

  • Wear sunscreen, sunglasses and a hat. There are long sections of the trail that’re exposed, and you’ll likely spend some time in the sun at the peak.
  • Carry plenty of water. We recommend at least 2L per person, and more if you’re taking a longer route and/or your dog.
  • Bring snacks to keep you and any company fueled.
  • Don’t forget the first aid kit.

Not sure what to pack? Check out our full list of hiking with your dog essentials and shop our favorites.

Getting to the trail and parking

The drive up to the trailhead is scenic and fun. You’ll take Santiago Canyon Road to Silverado Canyon Road until you hit the Maple Springs Trailhead entrance. At this point the road will narrow and it will soon turn into a dirt road. We recommend taking a high clearance vehicle, preferably something with 4×4 capabilities or all wheel drive. You’ll follow the road up to four corners, where a handful of OHV trails meet. A lot of people stop here for the views and small obstacle walls.

Adventure passes are required for parking. We parked along the gate to the entrance of the OHV road that heads up Santiago Peak and displayed our National Park Pass.

Hiking Santiago Peak

The trail begins at four corners. We found there are a couple options to hike up to Santiago Peak from here. You can follow the wide OHV trail all the way up, which ends up being about 9.5 miles. We decided to follow the trail that heads up to Madjeska Peak and cuts through a portion of the mountain. This small trailhead starts about 0.1-0.2 mile in from the gate and it’s easy to miss if you’re not looking for it.

Chase and Rado hike through a covered trail with Jon.

We liked this trail because it was more hiker friendly than the OHV trail, which can get pretty busy with 4×4 vehicles, motorcycles, and cyclists. While there are some portions of the trail that are overgrown and narrow, the benefits are that it offers shade while still being fairly easy to follow.

When you reach the fire road, you can either turn left and make the trek up to Madjeska Peak, turn right and follow it back to the main OHV road, or go straight and continue down the other side of Madjeska towards Santiago Peak. We accidentally missed the small trail that was straight ahead and ended up making a right and taking the fire road back down to the main road; which might actually be easier on the knees in comparison to the downhill on the smaller trail.

Scenic photo of the rolling canyons and mountains around Saddleback Mountain.

When you meet the main OHV road you’ll turn left to continue on up towards Santiago Peak. Again you can either follow the road all the way up or you can turn left on to the hiking trail that is a little more of a straight shot up to the peak. We took the hiking trail. I believe it’s a little steeper than the main road, but there is less motor traffic and more shade.

When you pop back out from the hiking trail to the main road, you’ll head up to the right towards the big signal towers. You’re getting close to Santiago Peak.

The summit can be a little tricky because there are a lot of roads and towers. As you approach the towers, stay right and head towards the taller towers. Just as you pass the main tower, you’ll see a small trail that leads up to the highest point. There used to be a summit register and summit signs, but they were missing when got there.

This summit feels anticlimactic because of the towers and all the motor traffic, but it’s still a fun one to at least check off the bucket list! Unfortunately for us there was a ton of cloud coverage that blocked our views, which means we may need to make another trip.

Let us know if you attempt this hike and how it goes, and contact us if there are any updates we should share in this log!

Happy Hiking!

A title image that reads "Trail Log: hiking santiago peak via maple springs" on top of an image with a woman standing on Santiago Peak with her two dogs.

Trail Log: Hiking Mount Pinos to Sawmill Mountain

Sawmill Mountain via Mount Pinos is a moderate, dog-friendly, 7.5 mile out-and-back trail with approximately 1,550 feet of climbing.

Jon walks along the trail with Chase and Rado

This two-peak hike is popular because it bags Mount Pinos, the highest point in Ventura County, and then Sawmill Mountain, the highest point in Kern County. While there are sections of the trail that can be challenging, it definitely doable for most by going slow and taking breaks, which is easy to do with the views along the way. It’s also one of the summit options on the SoCal Six Pack of Peaks Challenge and is dog-friendly. All of this means you’ll likely run into other people and dogs along the trail.

Ready to go?

Be prepared with the essentials

  • Wear sunscreen, sunglasses and a hat. Even though a good chunk of the trail is shaded, you’ll still spend some time in the sun at the peaks; especially if you like to stay to enjoy the view for a while like we do.
  • Carry plenty of water. We recommend at least 2L per person, and more if you’re bringing your dog.
  • Bring snacks to keep you (and your dog) fueled.
  • Don’t forget the first aid kit.

Not sure what to pack? Check out our full list of essentials and shop our favorites.

Getting to the trail and parking

The drive up to the trailhead is beautiful. You’ll park at the Nordic Base parking lot, which is very large and typically has plenty of space available. A Forest Adventure Pass is needed to park here. We displayed our National Parks pass. Sometimes there are porta-potties here, but if not, there are vault toilets available at Chula Vista Campground. When you’re ready to get started, the trailhead is off to the left hand side when you enter the parking lot.

We used the directions to the trailhead on AllTrails (note: we only did a portion of this hike; AllTrails doesn’t seem to have a trail option that only hits Mount Pinos and Sawmill Mountain).

Hiking to Mount Pinos

Julianna, Chase and Rado sit on top of Mount Pinos.

The trail begins at the parking lot as a wide fire road. At one point we saw a couple of dirt bikes come through, but otherwise it was quiet and there were no other motor vehicles. You’ll follow the main trail past a gate. At the first fork in the trail, turn left. You’ll gradually climb a windy dirt road covered in shade from the pine trees.

When you come out of the pines, continue left along the wide trail up towards the meadow. When you reach the meadow you’ll start to see the Mount Pinos radio towers. There are two ways up to Mount Pinos from the meadow. We took the smaller trail to the right for sweeping views of the mountains on our way up (then took the other way down later). This detour is a little longer than the main road up, but the views are much nicer.

Follow the trail up to Mount Pinos (and the radio towers). Stop here for a quick break, enjoy the views, and take your summit selfie. Mount Pinos is the highest peak in Ventura County at 8,847 feet.

When you’re ready to continue on, follow the trail straight down to the main dirt road and continue straight to the Condor Observation Point (if you turn left, you’ll be headed back to the parking lot).

Condor Observation Point

After a few minutes you’ll walk up to the Condor Observation Point. There are some nice views here, but there are plenty more along the trail too. Continue on to the right of Condor Observation Point to follow Tumamait Trailhead towards Sawmill Mountain.

At the first junction, you can head right to a nice panoramic viewpoint, or you can continue straight along the main trail.

Hiking to Sawmill Mountain

As you head down the main trail, you’ll follow some exposed switchbacks down into the Chumash Wilderness before you’re reunited with some shade.

Eventually you’ll descend into the saddle before heading back uphill towards Sawmill Mountain. Most of the descent and climb is gradual, but there are a couple of sections where you might feel more comfortable having trekking poles.

Eventually you’ll meet another fork (lined with branches and rocks when we were there) that you’ll turn right to follow up to the peak. Follow this trail up. Soon in the distance you’ll see the the massive stone marker– you’ve made it! Sawmill Mountain is the highest peak in Kern County at 8,822 feet.

Jon stands at Sawmill Mountain with Chase and Rado.

Enjoy the views and then head back down the way you came. Remember you can skip Mount Pinos and continue down the main dirt road back to the parking lot.

Happy Hiking!

6 Dog Friendly Summer Hikes near Los Angeles

Summer doesn’t have to mean your dog stays indoors while you get to have all the fun. Here are a few of our favorite dog-friendly summer hikes near Los Angeles.

Dogs can overheat just like humans, so it’s important to take precautions when planning your summer hikes. Check out our 7 Tips for Summer Hiking With Dogs before heading out to the trail.

Ready to go? Check out some of our favorite summer hikes around Los Angeles listed below. These hikes are generally shaded, and feel rewarding with water features; but we still recommend going early to avoid the hottest times of the day and crowds around these popular trails. Dogs are allowed on all of these trails but you should keep them leashed.

Hiking with your dog for the first time? Make sure you’ve packed all the essentials.

Have additional recommendations? Leave them in the comments below!

Switzer Falls

Three humans and five dogs sit in front of a water fall.

A generally easy to moderate 3.6 miles out-and-back hike with approximately 695 feet of elevation gain. Most of the trail is shaded, with only about half a mile exposed in a rocky section.

Be sure to park in the lower lot (follow the directions/signs down to the campground), otherwise you’ll have quite the trek back up to your car. An adventure pass is required to park so be sure to purchase one before you go. We used our annual National Parks Pass.

View more information about Switzer Falls on AllTrails.

Eaton Canyon Falls

Julianna, Jon, Chase and Rado stand in front of Eaton Canyon WaterFall.

There are a few trail options to get to Eaton Falls that range from 1.9-4.4 miles out-and-back. We usually take the 4.4 mile hike to enjoy a longer hike with multiple water crossings.

This is generally an easy hike, but do be careful at the water crossings. Rocks and logs can be slippery. If you do fall in, the water is usually only about ankle deep.

It’s easy to find parking at this park. The park offers a main parking lot with additional overflow parking in a dirt lot. There are plenty of signs to help guide you to additional parking. No parking passes were required during our visits.

View more information about Eaton Canyon Trial on AllTrails.

Millard Canyon Falls

four dogs and their three humans sit in front of Millard Falls.

A relaxing and easy 2.5 mile out-and-back hike. There are two ways to access the trail to Millard Canyon Falls.

You can park near and start at the point shown in the AllTrails link below, or you can drive to the lower Millard Canyon Campground parking lot and start from there for a shorter version of the hike.

Shortly after you pass the campsites you’ll meet a 4.5-5 foot tall wall that you’ll need to climb to access the trail. There are some rocks that act as steps, but might require a little jump up for you and your dog. This is the hardest obstacle you’ll encounter.

There is nice shade throughout the trail, and a few shallow river crossings. Rocks and logs are placed to help you at these crossings.

View more information about Millard Canyon Falls on AllTrails.

Gabrielino Trail: Jet Propulsion Laboratory to the USFS Dam

Julianna, Chase and Rado stand in front of the Dam.

This is a longer trail that totals about 9.3 miles out-and-back, but is otherwise pretty easy terrain with about 954 feet of elevation gain that is very gradual along the way.

The first half of the trail is wide and much more trafficked. You might even run into some horses.

Once you pass Gould Mesa Campground the trail begins to narrow and you’ll see people less frequently. There are a few water crossings after the campground, most of which have a path laid out by rocks or logs, before you’re met with the sounds and view of the Dam.

View more information on the Gabrielino Trail to USFS Dam on AllTrails.

Escondido Fall

Rado stands with his tongue out in front of Escondido Waterfall.

Escondido Falls is an easy 3.7 mile out-and-back trail near the beach. There isn’t much elevation gain throughout the hike, but there is one section at the start of the trail that might be a little steep for some.

There is a very small parking lot that requires a parking pass just off of PCH. This lot fills up fast, and many will opt to park across the street along the Pacific Coast Highway. Since the start of the trail is in a residential area, you’ll need to walk up through the neighborhood from the parking lot to access this trail.

The walk from the parking lot to trailhead is exposed along a road. Once you make it to the trailhead, most of the trail is covered. You’ll follow the trail, cross two small water features, before making it to Escondido Falls.

View more information on Escondido Falls on AllTrails.

Paradise Falls

Paradise Falls is located in Wildwood Regional Park in Thousand Oaks, California. There are a number of trails you can access in this park, and many of them connect to Paradise Falls. Generally speaking you can follow the trail for a 2.1 out-and-back hike to the waterfall, or you can turn it into a 3-4 mile loop by connecting it to a few other trails.

There are some picnic tables near the Falls should you choose to bring a snack to eat while you stop and enjoy the sights and sounds of the waterfall.

View more information on Paradise Falls on AllTrails.

Happy Adventuring!

7 Tips for Summer Hiking with Dogs

Summer is around the corner, which means we have to be even more thoughtful about how we plan our hikes, especially with our dogs. Below is a list of tips to stay safe on summer hikes with your dog.

We love hiking with our dogs, and we hike with them a lot. However, I would be doing a disservice if I didn’t say we definitely take some breaks from hiking in the summer when the heat is too much.

Dogs can overheat just like humans, so it’s important to take these precautions when planning your summer adventures.

Rado, a tan and white labradoodle, sits on top of Chief Mountain in Colorado. He's wearing a teal harness and checkered bandana.

Avoid the hottest times of day

There are a number of variables we keep in mind when it comes to the heat. This is definitely number one. Summer means we take on more early morning or the occasional late evening hike.

Going early in the morning helps us avoid the hottest times of the day, and the ground is usually at it’s coolest.

Why do I bring up the ground temperature? Because we want to protect our dogs paws from burning. The ground can be a lot hotter than the air temperature. We usually start to double check the ground when the air temperatures start to reach mid to high 70’s (F).

If you’re unsure if the ground is too hot, try the seven second test by placing the back of your hand on the ground and wait several seconds. If it’s too hot for you, it’s too hot for your dog.

Find shaded hikes

Although shade doesn’t actually make temperatures cooler, it does make a difference in how you feel. Generally, it’ll feel 10-15 degrees cooler in the shade because you’re avoiding direct sunlight, which is still a benefit in my opinion!

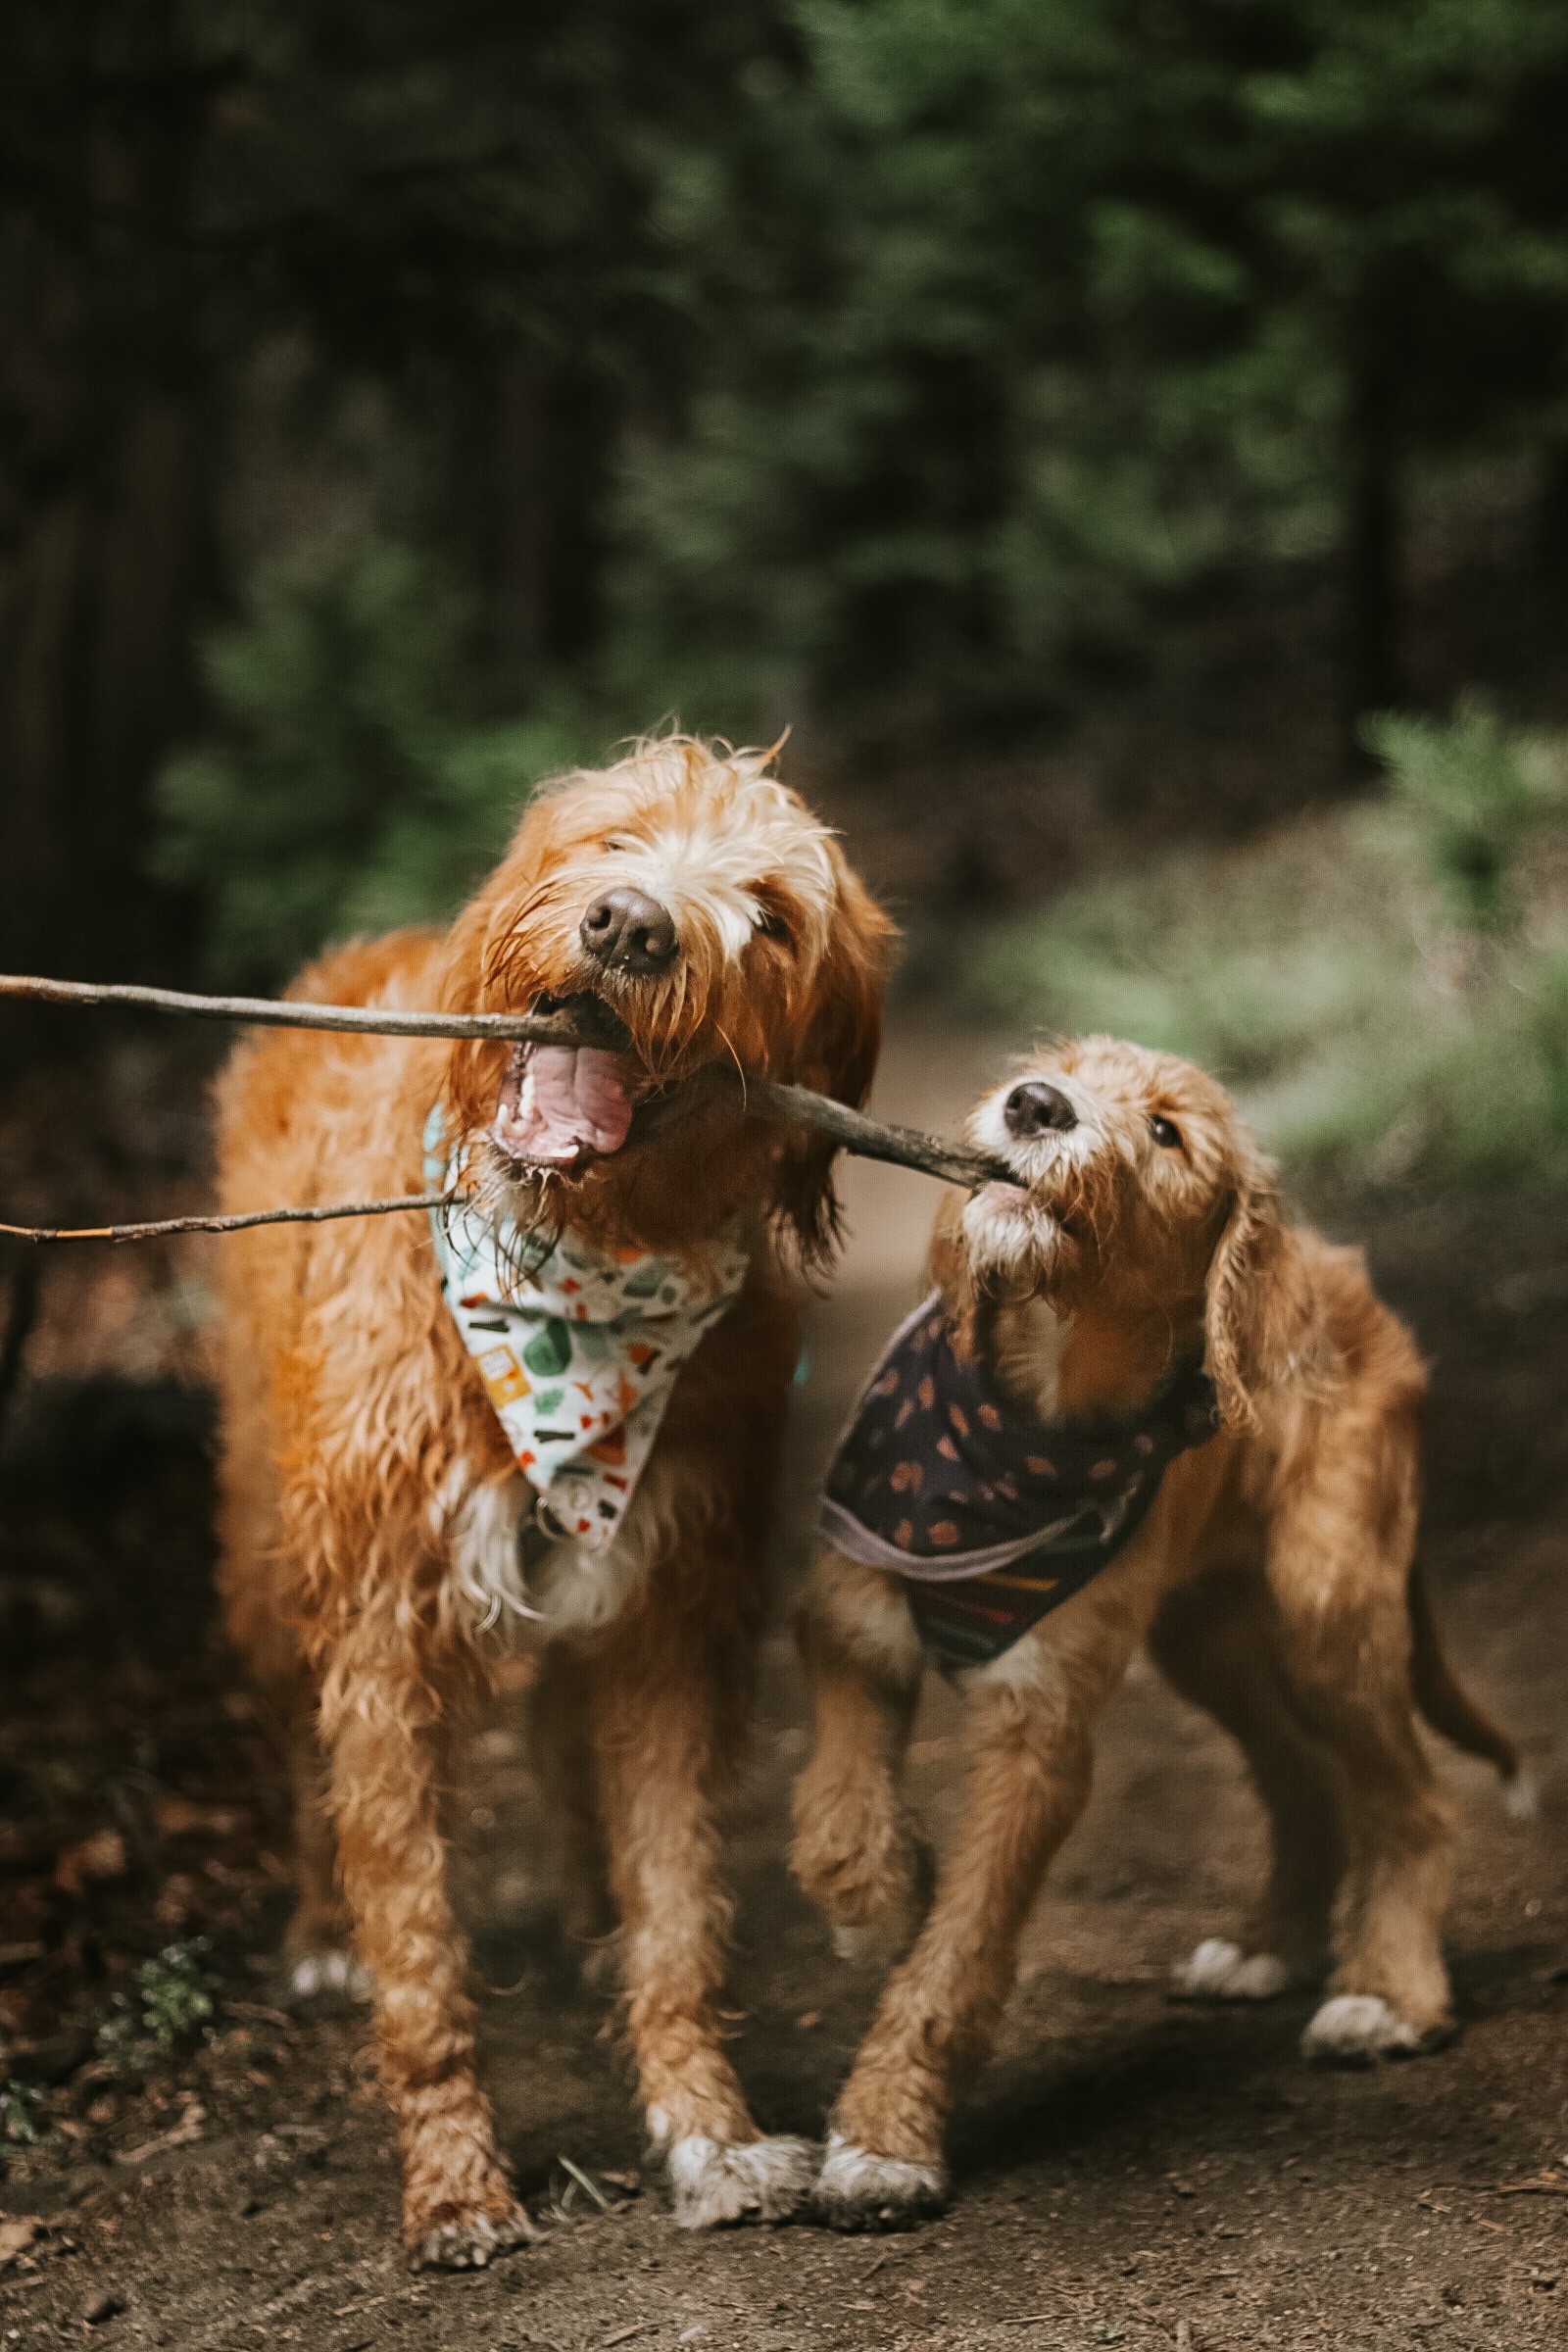
Chase and puppy Rado tug on a stick together.

Hike closer to water

If you have access to areas by the beach, the cooler ocean waters bring in a comforting sea breeze.

One of our favorite things to do is hike to a water feature, usually a waterfall or a lake. It’s feels like a treat when we make it to our destination and are rewarded with both the views and mist from the falls. Chase especially loves when we hike to a lake that he can swim in, like Rainbow Lake in Colorado (pictured below).

Julianna and Chase, a tan and white labradoodle, stand in front of Rainbow Lake.

Note: Be careful around stagnant water as that can be a breeding ground for bacteria or fungi that’ll make you and your dog sick.

Hike in higher elevation

Higher elevation usually means cooler air temperatures.

The exact amount of change, however, depends on factors like sunshine (which is more intense at elevation), clouds/fog, wind, and if there’s any precipitation. Be careful about how high you decide to go though! There may still be snow in the summer. And in some cases, inversions might actually make it feel hotter, which basically sounds like a long winded way of saying you should still always double check the weather.

Julianna and Chase sit in front of Flower lake holding hands.

Plan to give yourself more time

Hike slower – It’s not a race! Take it easy and enjoy the view. Plus, it’s better for your joints and can add an element of meditation, which is good for your mental health too!

Preparing for the heat

Just like you have to adjust your planning, the things you bring will also change.

Pack plenty of water

I’m always under the mindset that I’d rather have carried too much water than not enough, and this is even more important when it comes to a warm day. Plus, any “extra” water can also be used to help cool you or your dog off, like soaking your bandana or your their cooling vest.

Adding electrolytes to your water can also be beneficial in the summer to keep you hydrated and avoid cramping. If you need to encourage your dog to drink more, one trick that has worked for us is mixing in some bone broth to their water.

Wear the appropriate clothing

For us this means moisture wicking clothes (avoid cotton) with SPF protection, and a good sun hat.

We also pack items like dog booties and cooling vests for the dogs, just in case. (Links to Kurgo’s Blaze Cross Dog Shoes and Dog Core Cooling Vest. Although we are Kurgo Ambassadors, these are not affiliate or sponsored links. We just genuinely love their products.)

For a full list of hiking essentials, check out our blog post Hiking With Your Dog: The Essentials. And if you are looking for new gear and want to save a few bucks, you can check out our discount codes here.

Jon puts boots on Rado, a tan and white labradoodle, to protect his paws from the hot trail and rocks.

Think about other options

Sometimes it’s just simply too hot to hike, and that has to be OK. Consider other fun summer adventures like kayaking or paddle boarding. This can be relaxing alternative, or at least an excuse to try something new. And, if your dogs are anything like mine, they might jump off and prefer to swim around to keep things exciting. As long as they’re OK with water, I see that as a benefit (they go home tired!).

Hiking with your dog: The Essentials

Whether you are a veteran hiker or are just getting started, there are a list of basic essentials everyone needs to hike with their dogs.

Notice that we’re missing something in this post? Let us know in the comments.

Preparing your pup for the trails

If you love the outdoors and own a dog, then you and your pup are likely to be great hiking buddies. It’s important, however, to make sure that you’re prepared to take care of yourself and your furry companion before you head out on the trail.

Be sure to consult with your vet, brush up on obedience training and trail etiquette, pick appropriate trails, and pack accordingly.

Ready to head out? Remember to double check the weather and trail conditions before you go. Slight changes may call for additional gear, like an extra base layer for you or booties for your dog.

You should also consider downloading a trail map, and telling a friend about your route before you go. Many trails don’t have cell service so it’s a good idea to take these additional steps for safety.

Essentials for the trail

What you bring on each hike can vary depending on length, terrain type, weather, etc. However, there are things that you should always bring like identification, plenty of water, and treats/snacks for you and your pup. Check out some of our favorite companies for more adventure gear recommendations.

Gear

Collapsible bowl (for water/food), Collar and/or harness, Leash, Poop Bags

Nutrition

Food (depending on length of hike), Treats, Water

Safety

First aid kit, Flea & tick spray, Tag/ID with contact information

Additional Accessories (optional or depending on weather)

Backpack, Boots, Clothing (i.e. vest, jacket, rain coat), Cooling collar or vest, Long line leash, Tab leash, Reflective gear or lights, Towel, Treat pouch

** Safety is a top priority, so be sure to always have identification on your dog/s in case you get separated. **

BONUS: We asked our Instagram friends for some of their tips, and here’s what they said

What we wish we knew when we started

“As a first time hiker, harnesses are the way to go (vs collar). The support is better, and if you fall or accidentally pull on them, it’s not choking them!” says @murray_themountainpup

Rado sits in the car wearing a grey harness. The car is protected by a blue and orange Kurgo car hammock.

@tumbler.ridge recommends owners to “buy a seat cover to save your car!”

“One of the things I wish I knew when we started was the appropriate amount for a pup to hike at their age” says @kopadoodle.

@the_koa_chronicles says they definitely recommend “a harness. Especially one with a pack so you’re able to carry extra snacks. We also love the water bottles with the attached bowl, giving us the option to put the water back inside so nothing goes to waste.”

@kaleiahskyy hikes alone with her pup a lot and recommends “always telling your friends and family where you’re going and packing a first aid kit. For safety we also bring pepper spray, a whistle and flashlight.”

Hiking with more than one dog

@findbluedog says, “if you’re into photography and want free hands, get a waist leash.” (also referred to as a hands-free leash).

“The #1 tip I have is to train an emergency whistle recall. Even if you have dogs with solid recalls, nothing beats the emergency” says trainer Katie @themaniacmutts.

“It’s hard! Especially when the trails get narrow and they can’t be off leash. PS, Always bring a leash!” says @adogbymyside.

Hiking with small dogs

“Warmth! Sonny gets cold easily when we stop moving, so we always like to keep a warm layer handy. Also, backpacks! When we were in snow deeper than Sonny is tall, it was easy to have him ride along on our hike in the backpack. It’s also great for biking!” says @sonnybymyside.

@sunnysbestlife warns us all to be especially aware of our surroundings – including the sky. “Small dogs are prey. Sunny is never off leash but I’m always aware of our surroundings in the sky.”

Happy Hiking!